Hub Web Portal
The Hub Web Portal is served by the Hub itself. Just like many traditional routers, the SyncSign Hub runs a web server at 80 port. Usually, this portal is only accessible from your local network. If you’d like to access from Internet, please use App Web Portal.
How to Access the Hub Web Portal
1.First find the Hub’s IP address,there are two ways to find the Hub’s IP address.
2.Open the Hub’s IP address in the browser, make sure the computer and hub are in the same local area network, then you can see the login page.
3.You are required to sign-in with a User Name: admin, Password: Lock4Safe.
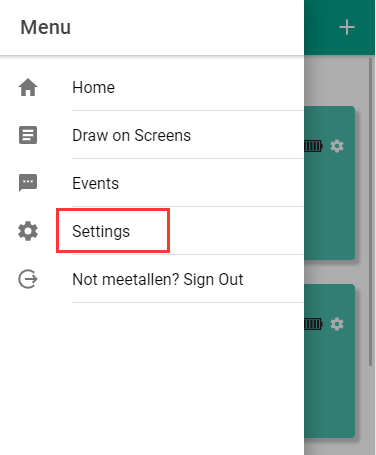
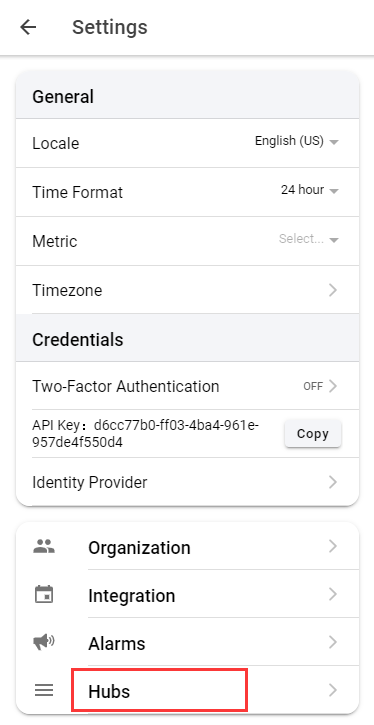
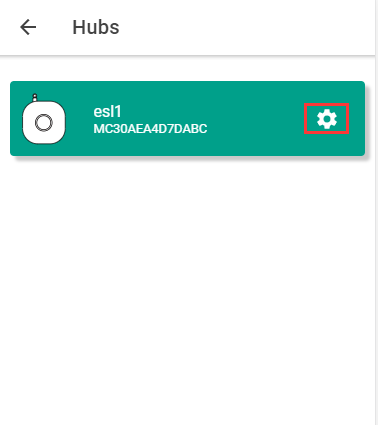
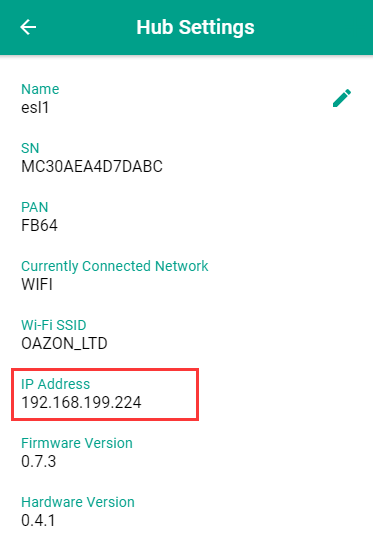
Find Hub’s IP address via Sync-Sign App
After setting up the Hub, find out your Hub’s IP address(Find it on the SyncSign APP’s hub detail page or check it in the router’s management page.)
Find Hub’s IP address via router
If you did not complete setup, however you can find the Hub’s IP address from the router background management.
Warning
Remember to modify the default password in [ Home ] > [ Admin Settings ]. If you forget the password, you will have to reset the Hub to the factory defaults.
Link Hub with an Account
Click [ Home ] > [ Admin Settings ] > [ Admin ].
Fill out the setup token displayed by the SyncSign APP in the column [ Link This Hub to an Account ], then submit.
After binding successfully, please refresh the SyncSign APP, and will see the Hub.
Update Info on Displays
Click [ Home ] > [ Update Info on Displays ] > [ Update ].
Follow the instructions, update the specified text or image on the Displays.
Template Setup
Click [ Home ] > [ Template Setup ].
Select the size of the Display. [ 2.9 Inch ] / [ 4.2 Inch ] / [ 7.5 Inch ]
“Busy Template” is the screen template means that there are some meetings in progress or will be going on; While, “Free Template” says the screen is sitting idle.
Click [ Preview ] button at the bottom of the page, and then edit the content shown on the Display. And don’t forget to click the [ Submit ] button at the end.
After submission, the template your edited will serve as the default template for all Display under this HUB control.
Alright, if you really mess up, please click the [ Restore to Factory Default ] button down below to revert to the original default template. And then do it again.
Calendars Management
Click [ Home ] > [ Calendars Management ] > [ Show ].
You can view the calendar information of each display under the HUB control.
Hub / Displays Management
Click [ Home ] > [ Hub / Nodes Management ] > [ Manage ].
You can check the memory usage of Hub/Display.
Click the [ Allow Node(s) Pairing with this Hub ] button to pair with other Displays.
Run Your Own Plug-in
Click [ Home ] > [ Developers ] > [ Options ].
Choose [ Developer Mode ], and then [ submit ].
Return to the Home Page. Click the [ Home ] > [ Developers ] > [ Editor ].
You can edit your own plugins on the “App Editor” page, See this website for your reference: https://github.com/myvobot/examples/blob/master/hello_world/app/__init__.py
Local API for Http Request
Click the [ Home ] > [ Developer ] > [ API ].
The API here is designed for LAN. It’s available as long as your Hub connects to your local network over Wi-Fi/Ethernet. Unless you configure the DMZ or port forwarding settings on the router, it’s not open to the Internet. The hostname of these APIs is the LAN IP address of the Hub, and it only support HTTP request at this moment.
Please use the Local API according to the page instructions.
Check Hub Update
Click [ Home ] > [ Hub / Nodes Management ] > [ Hub ] > [ Check Update ] (Slightly different in older versions of the hub: Click [ Home ] > [ Admin Settings ] > [ Admin ] > [ Check Update ])
Check 7.5 Inch Display Update
Click [ Home ] > [ Hub / Nodes Management ] > [ Nodes ] > [ Check Update(for 7.5 inch displays)] > [ Select a node to update ] > [ Update Now ]
Download System Log
Click [ Home ] > [ Admin Settings ] > [ System Log ], hit [ Enable System Log ], Set [ Level >= Debug ], [ 2000 lines ], Then [ Submit ]
Try to reproduce the issue. It’s recommended to reboot the Hub first.
After the issue happened, go back to [ System Log ], and click the download button on the top-right corner.
While requesting tech support, please attach this csv file with the issue.