Cloud Computing Instance
Create a new EC2 instance via AMI
You can name your cloud device here

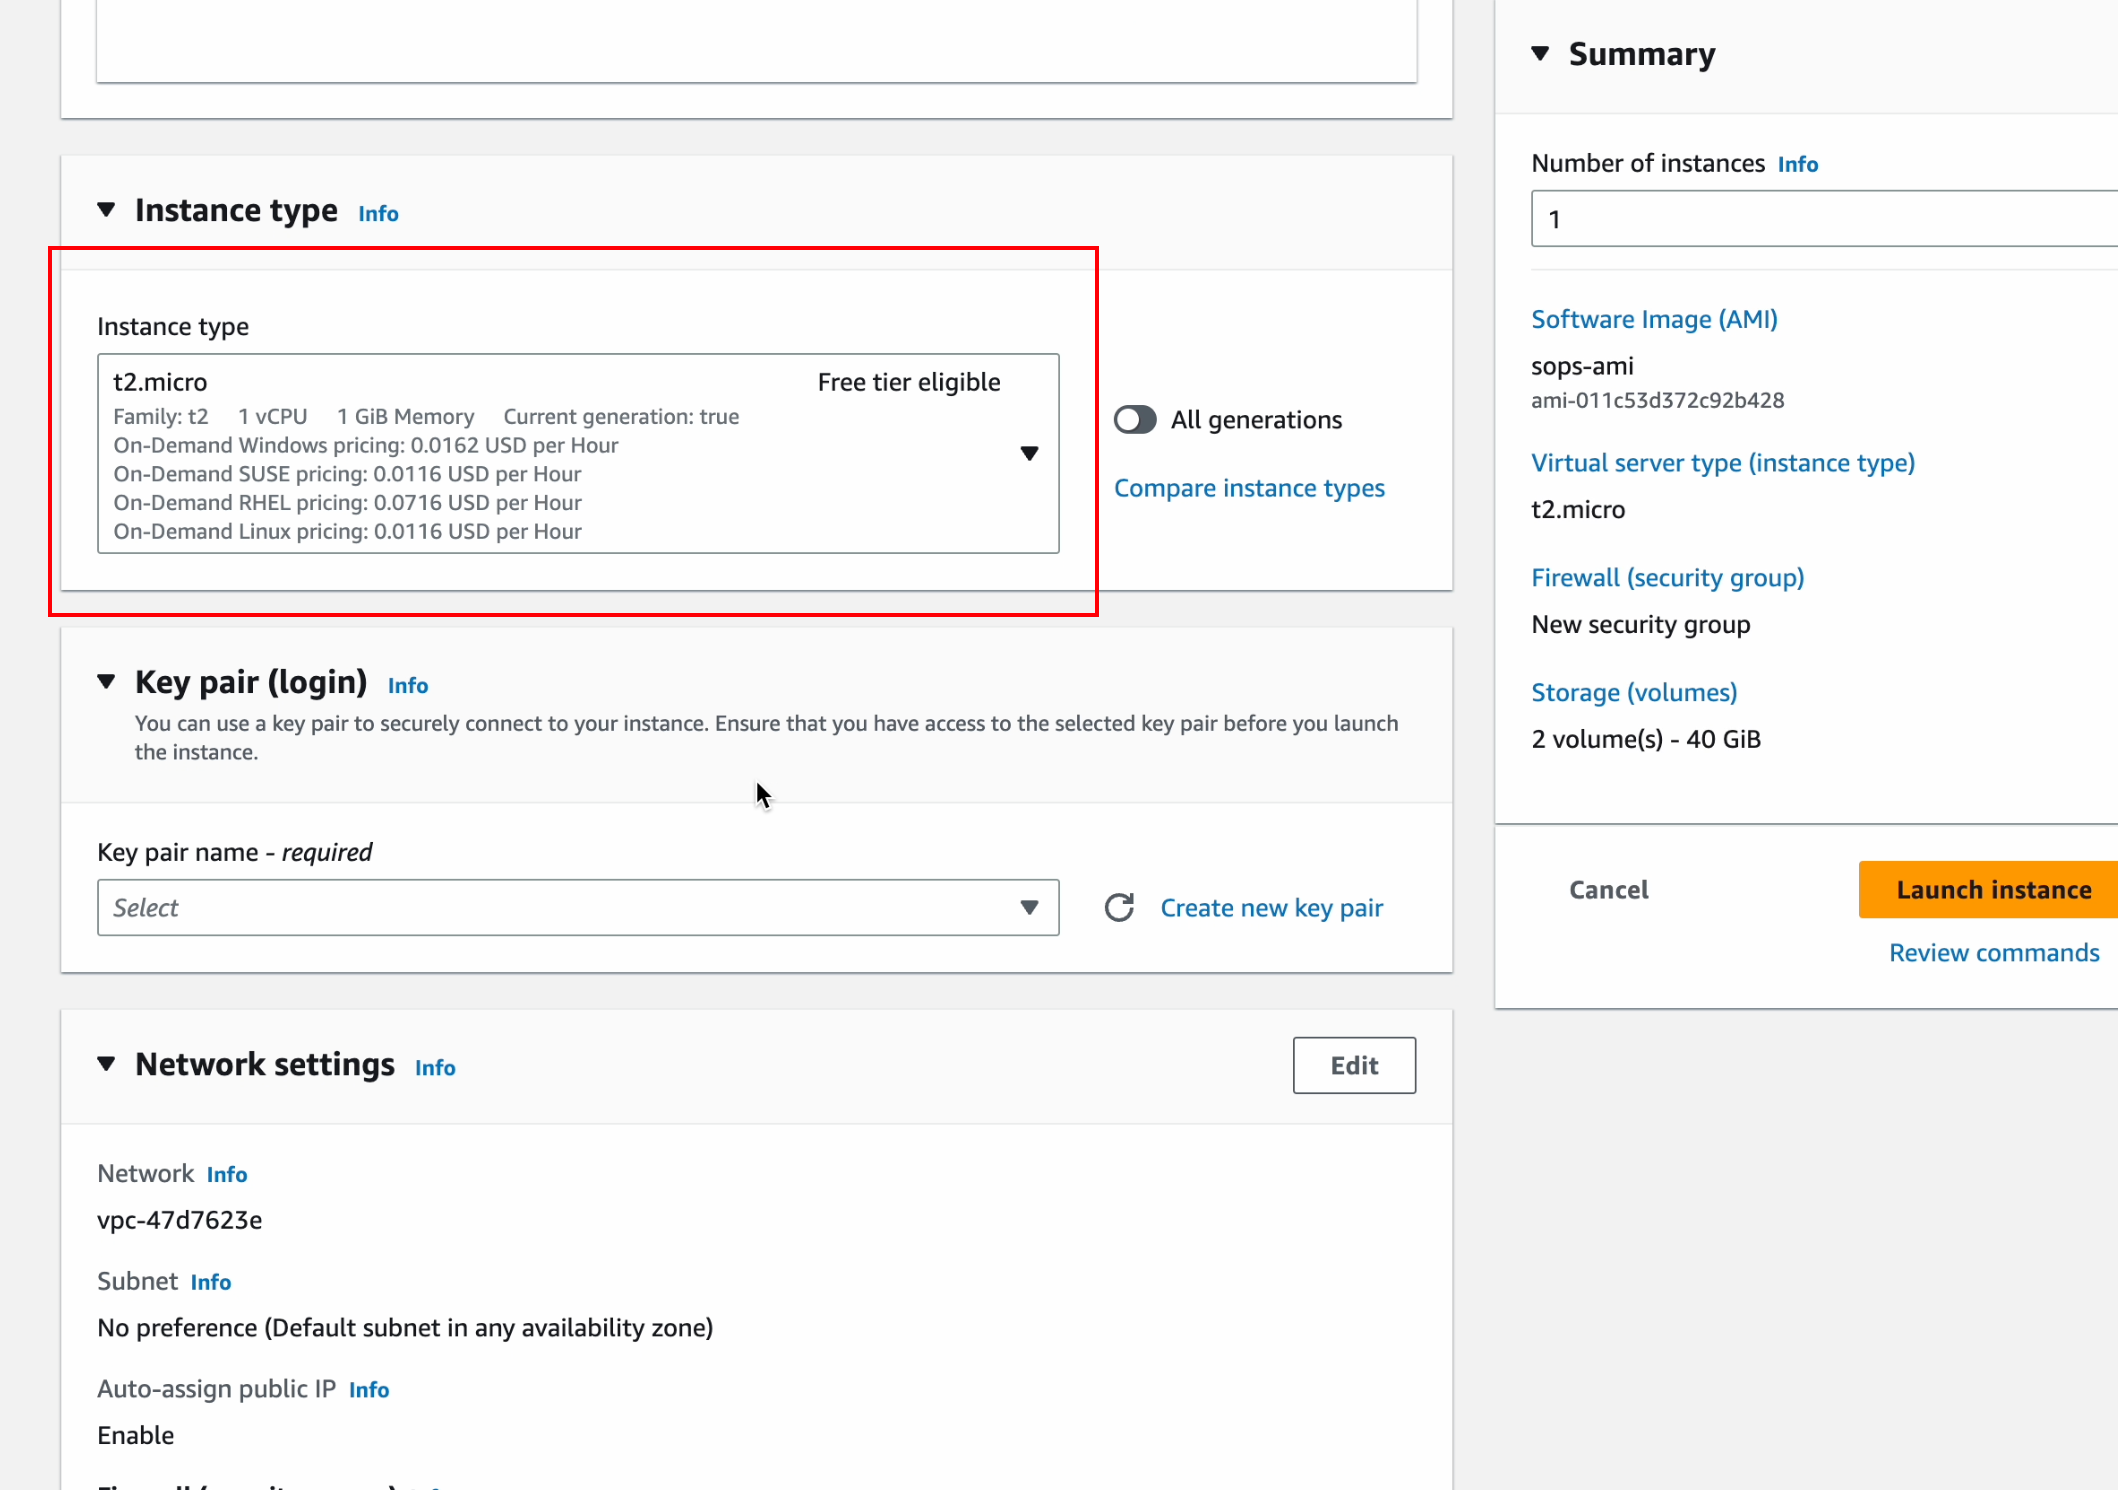
Instance type, it is recommended to use the default configuration (t2.micro)
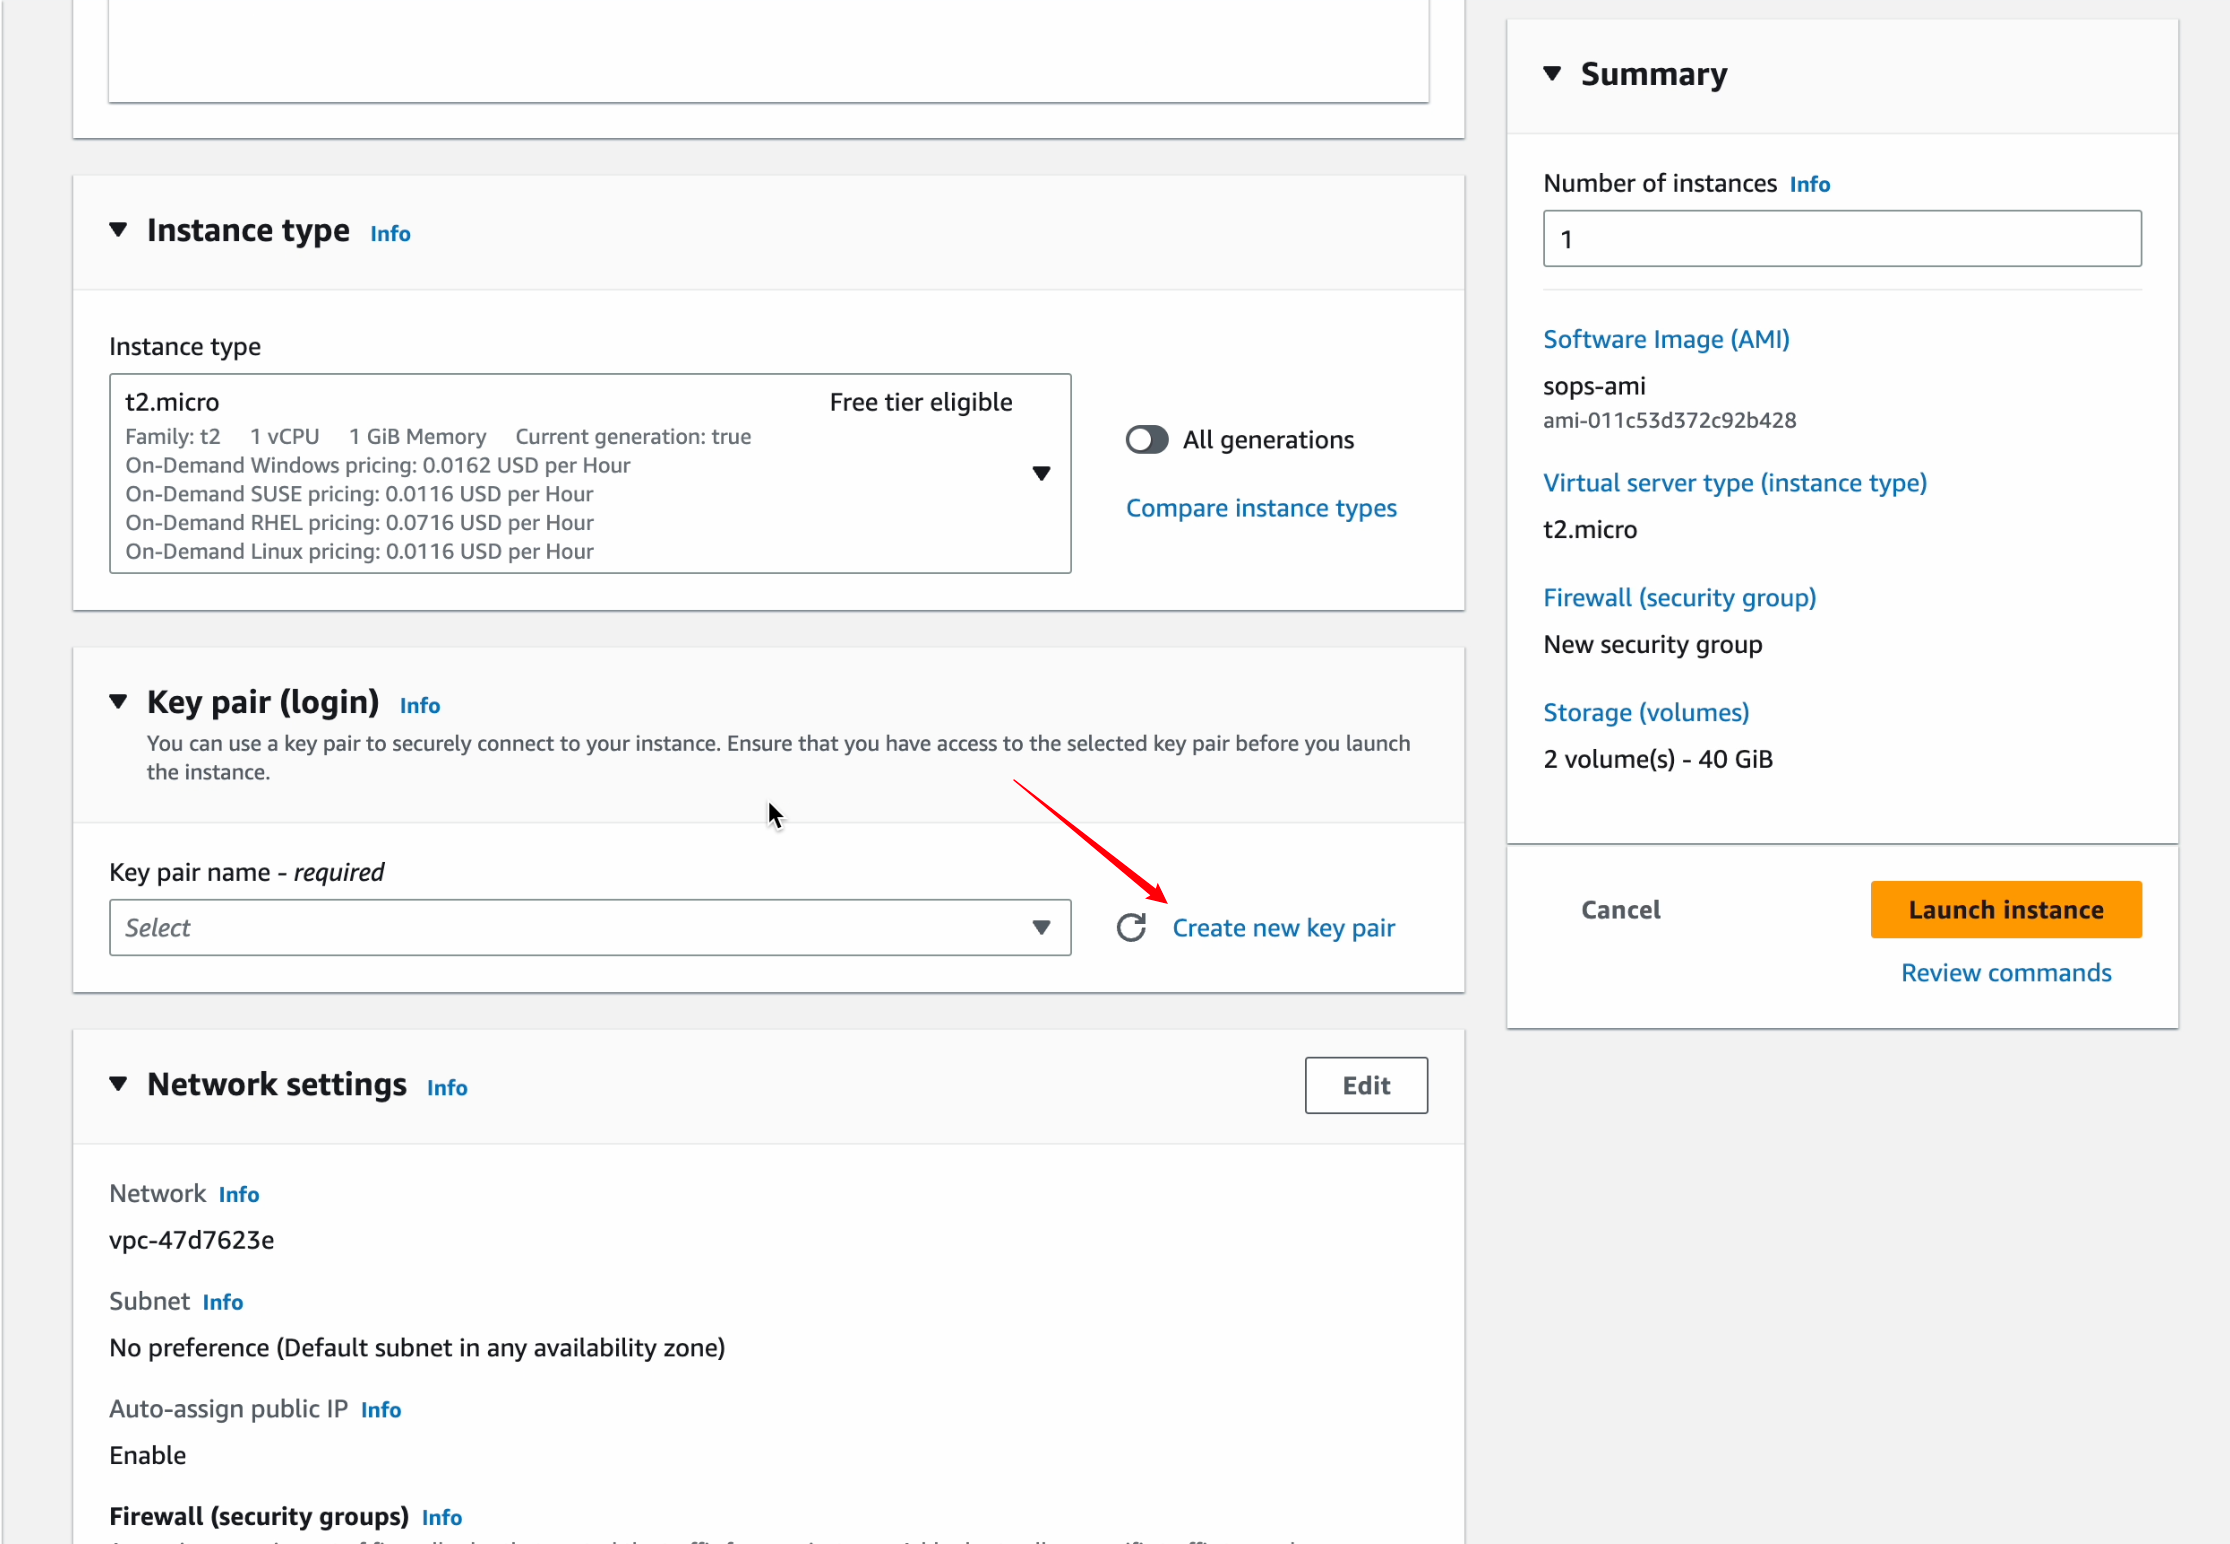
Here if you don’t have a key, you need to create a new one to use to connect to your instance
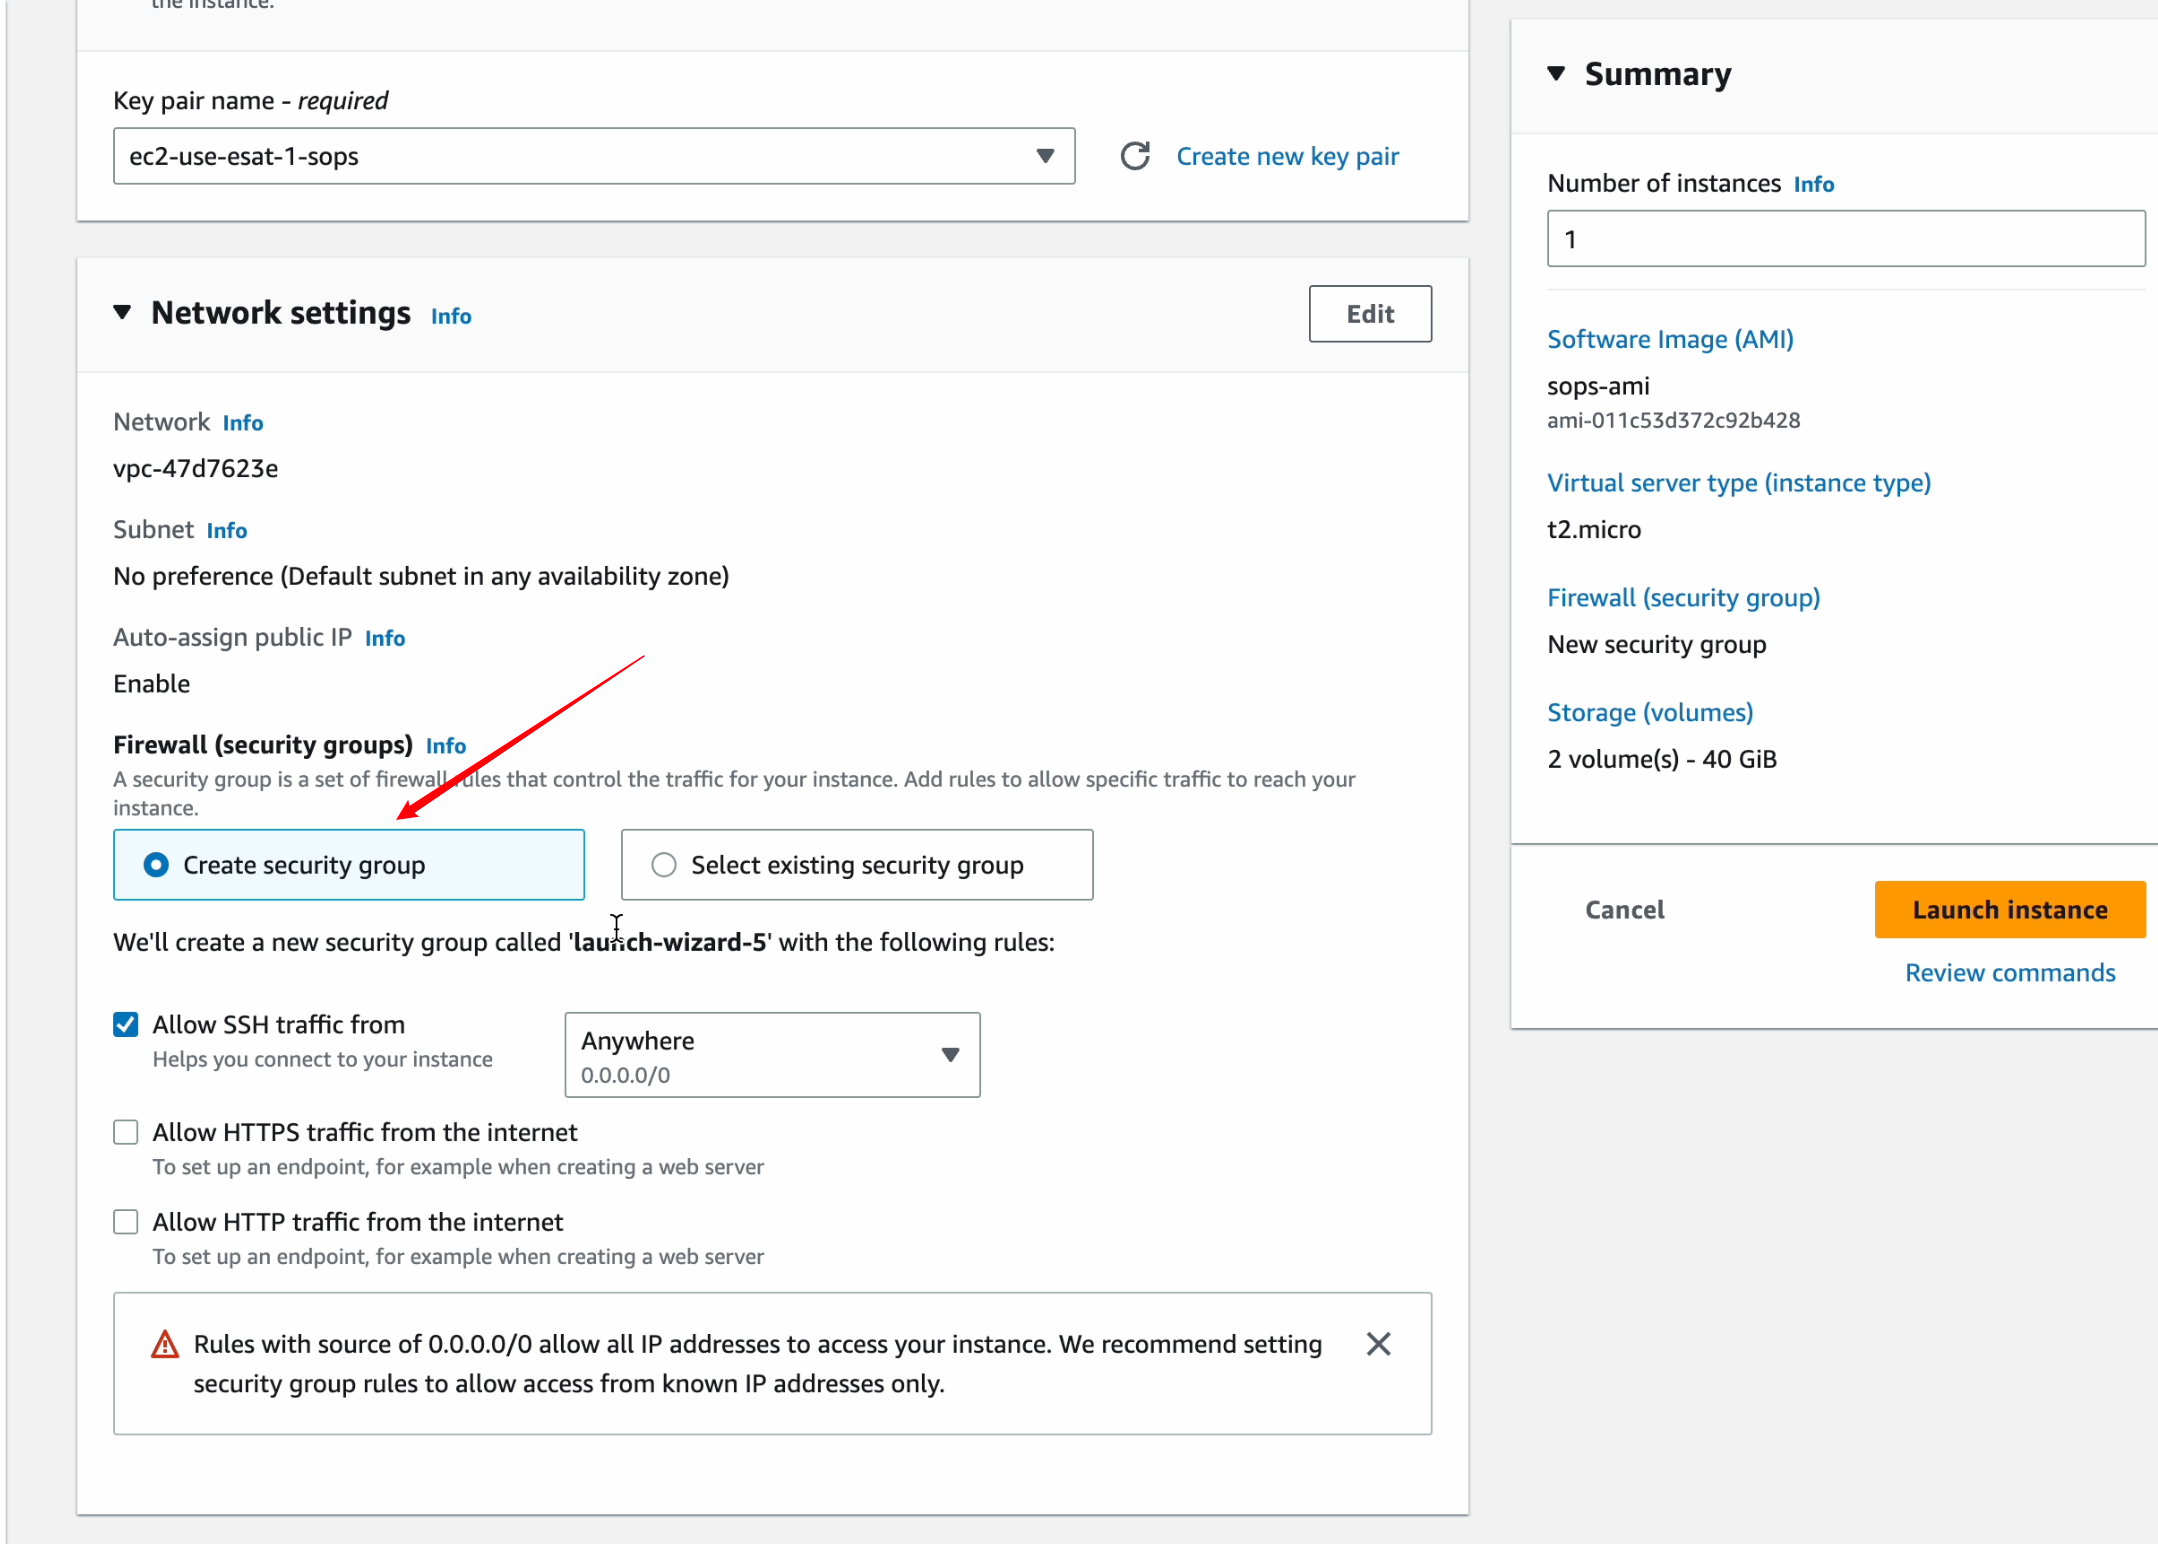
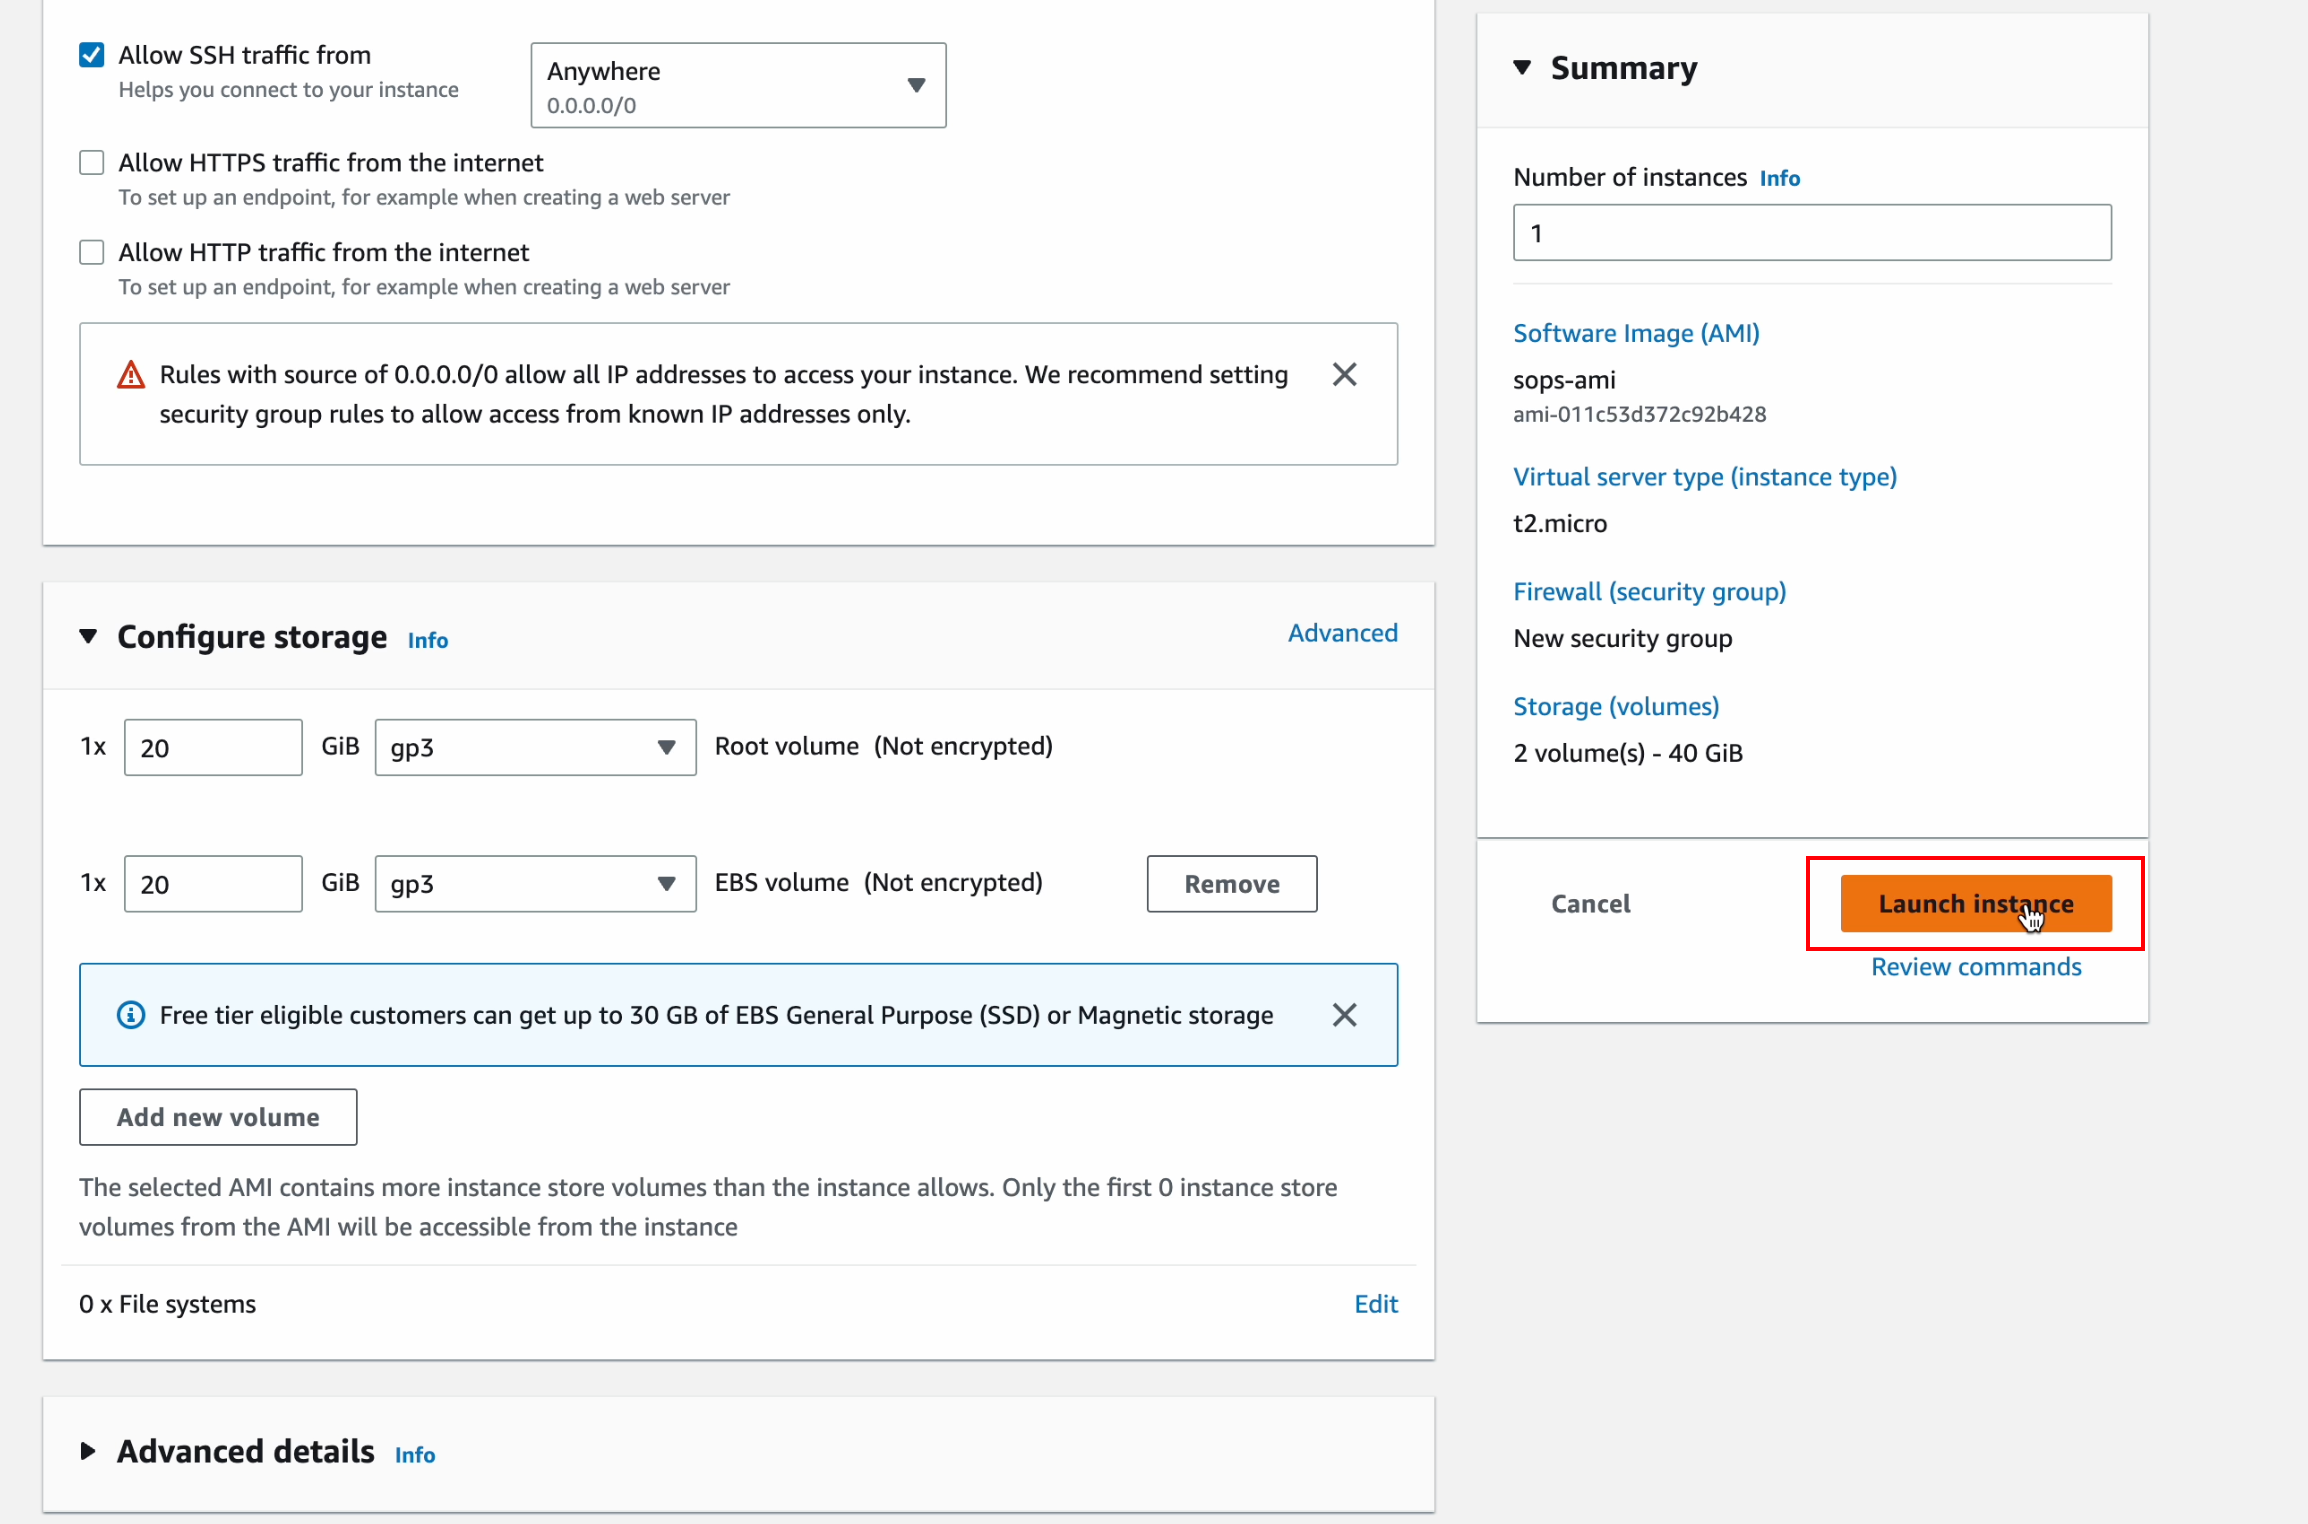
Create a new security group, which we configure after the instance is created
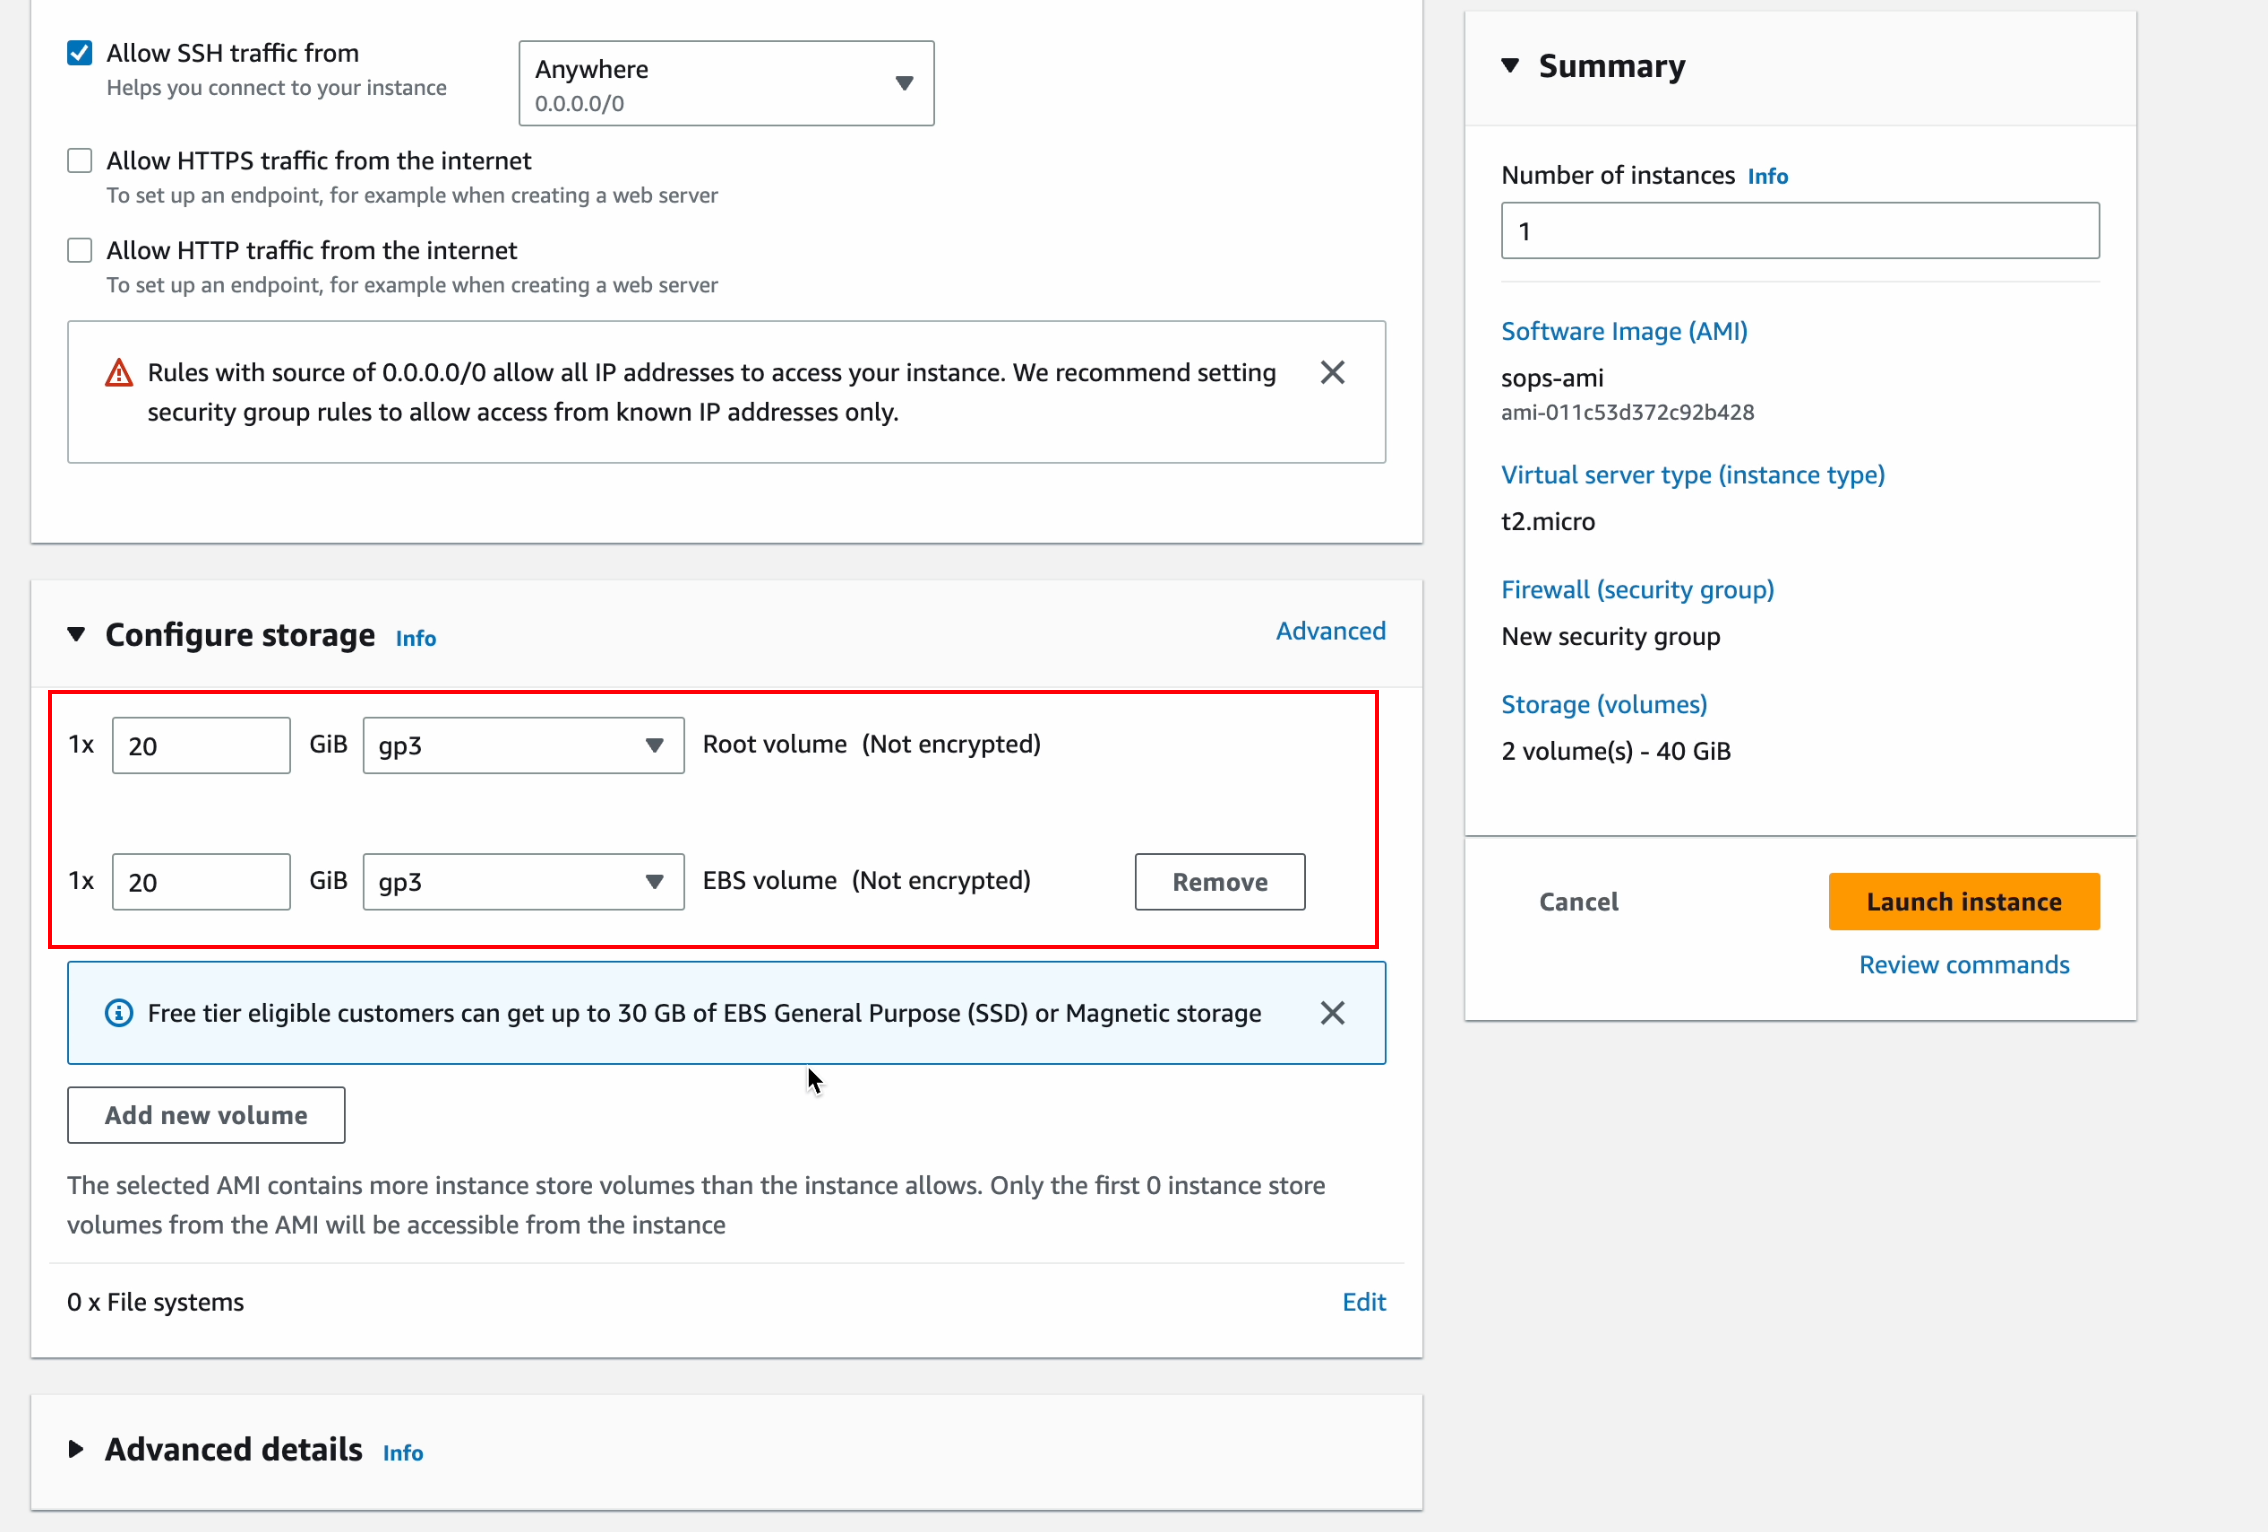
Store information according to the default configuration shown in the figure below
Check your “summary” information, click “Launch instance” to complete the creation of the instance
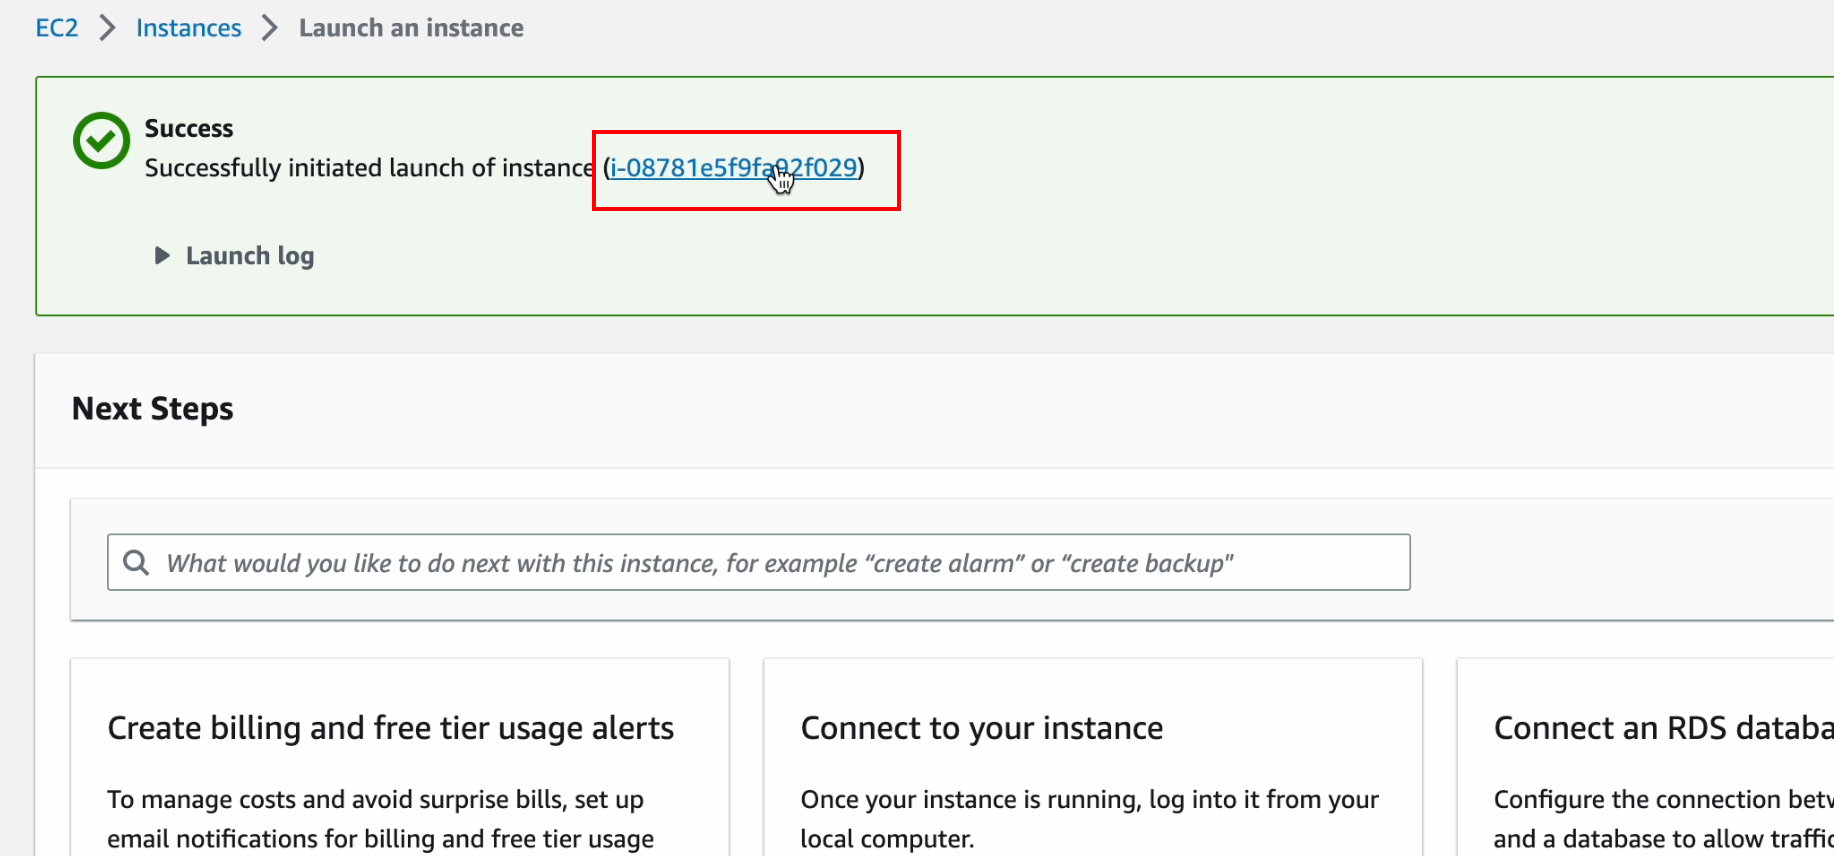
After the instance is created, click the instance ID to view the instance details.
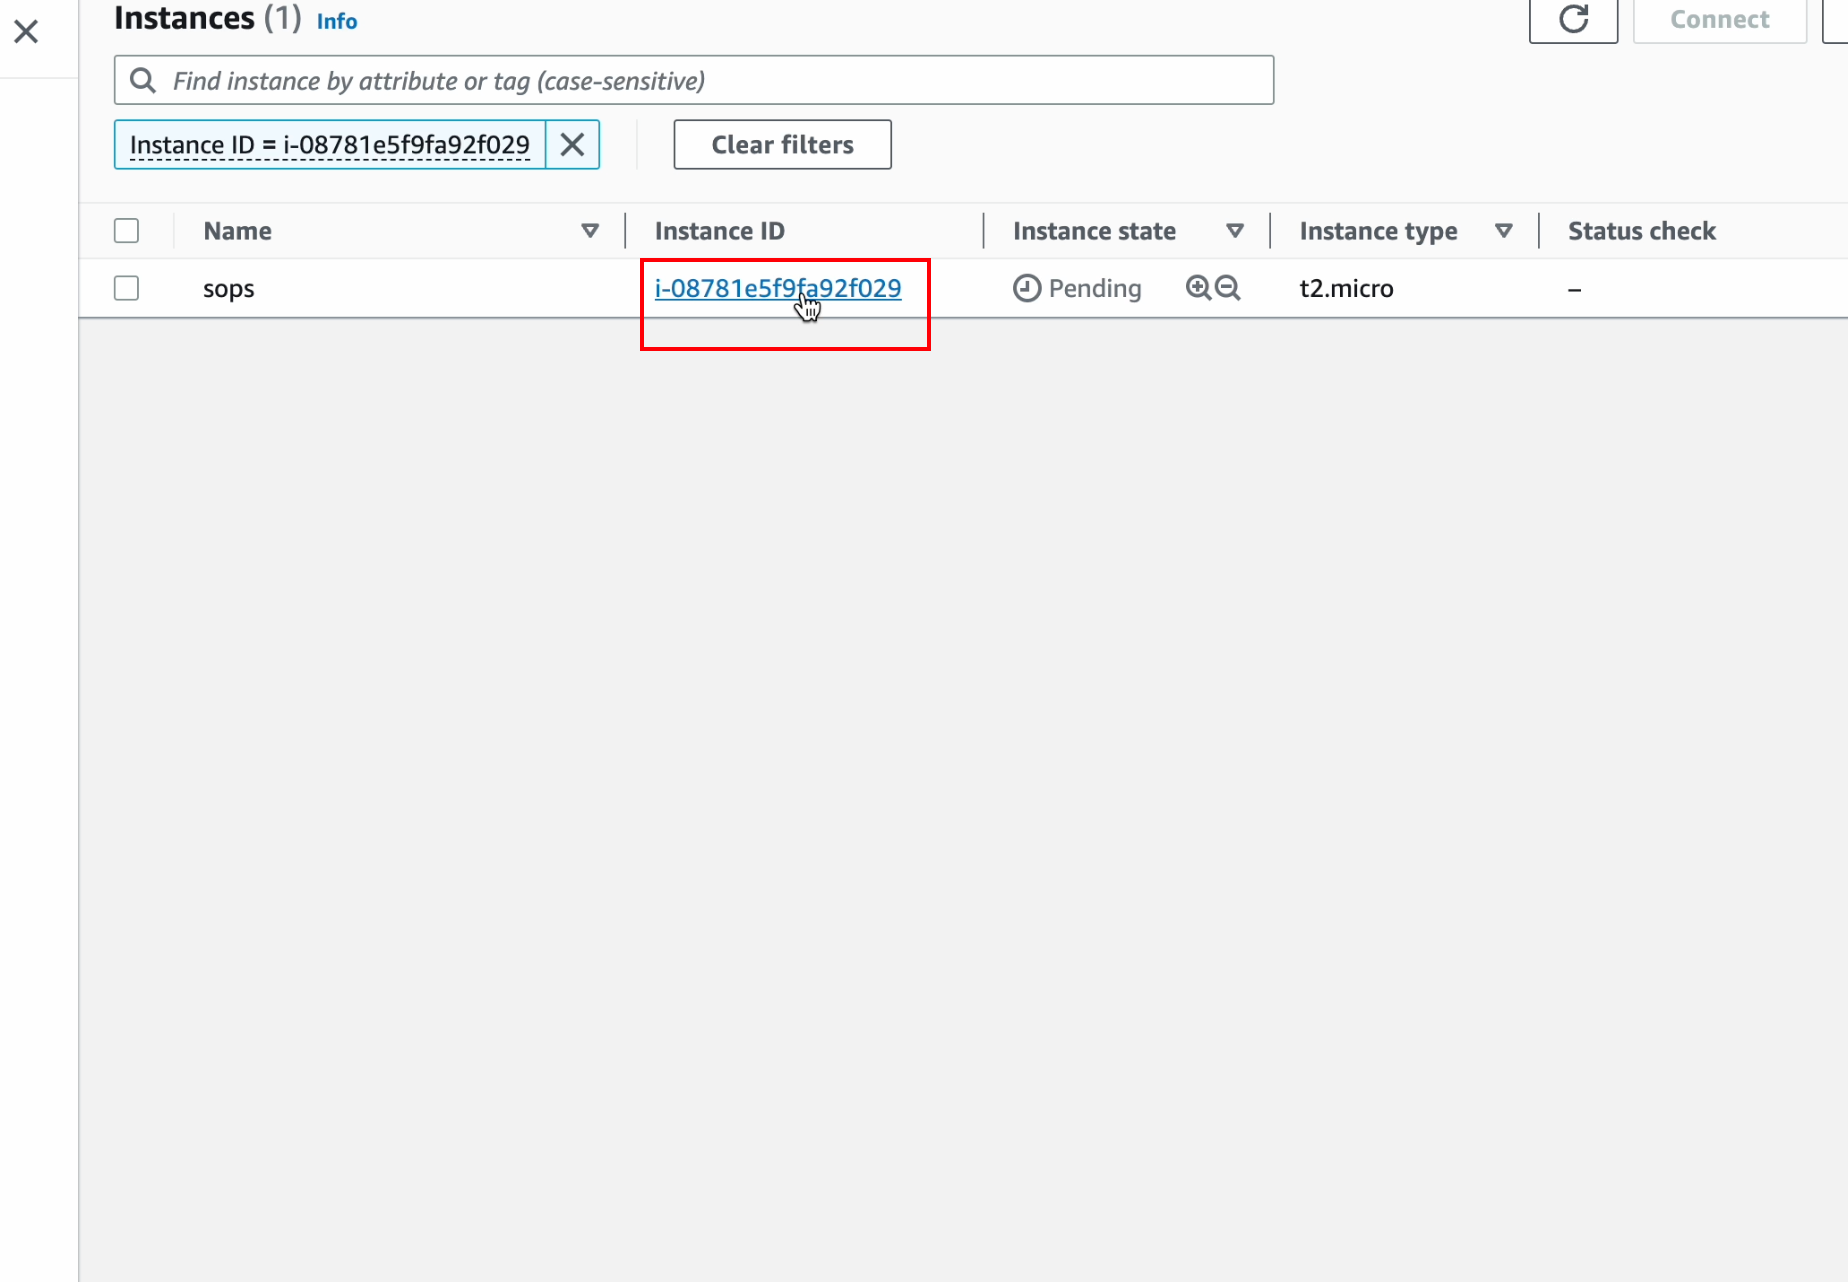
Click the instance ID again to enter the Info summary of the instance
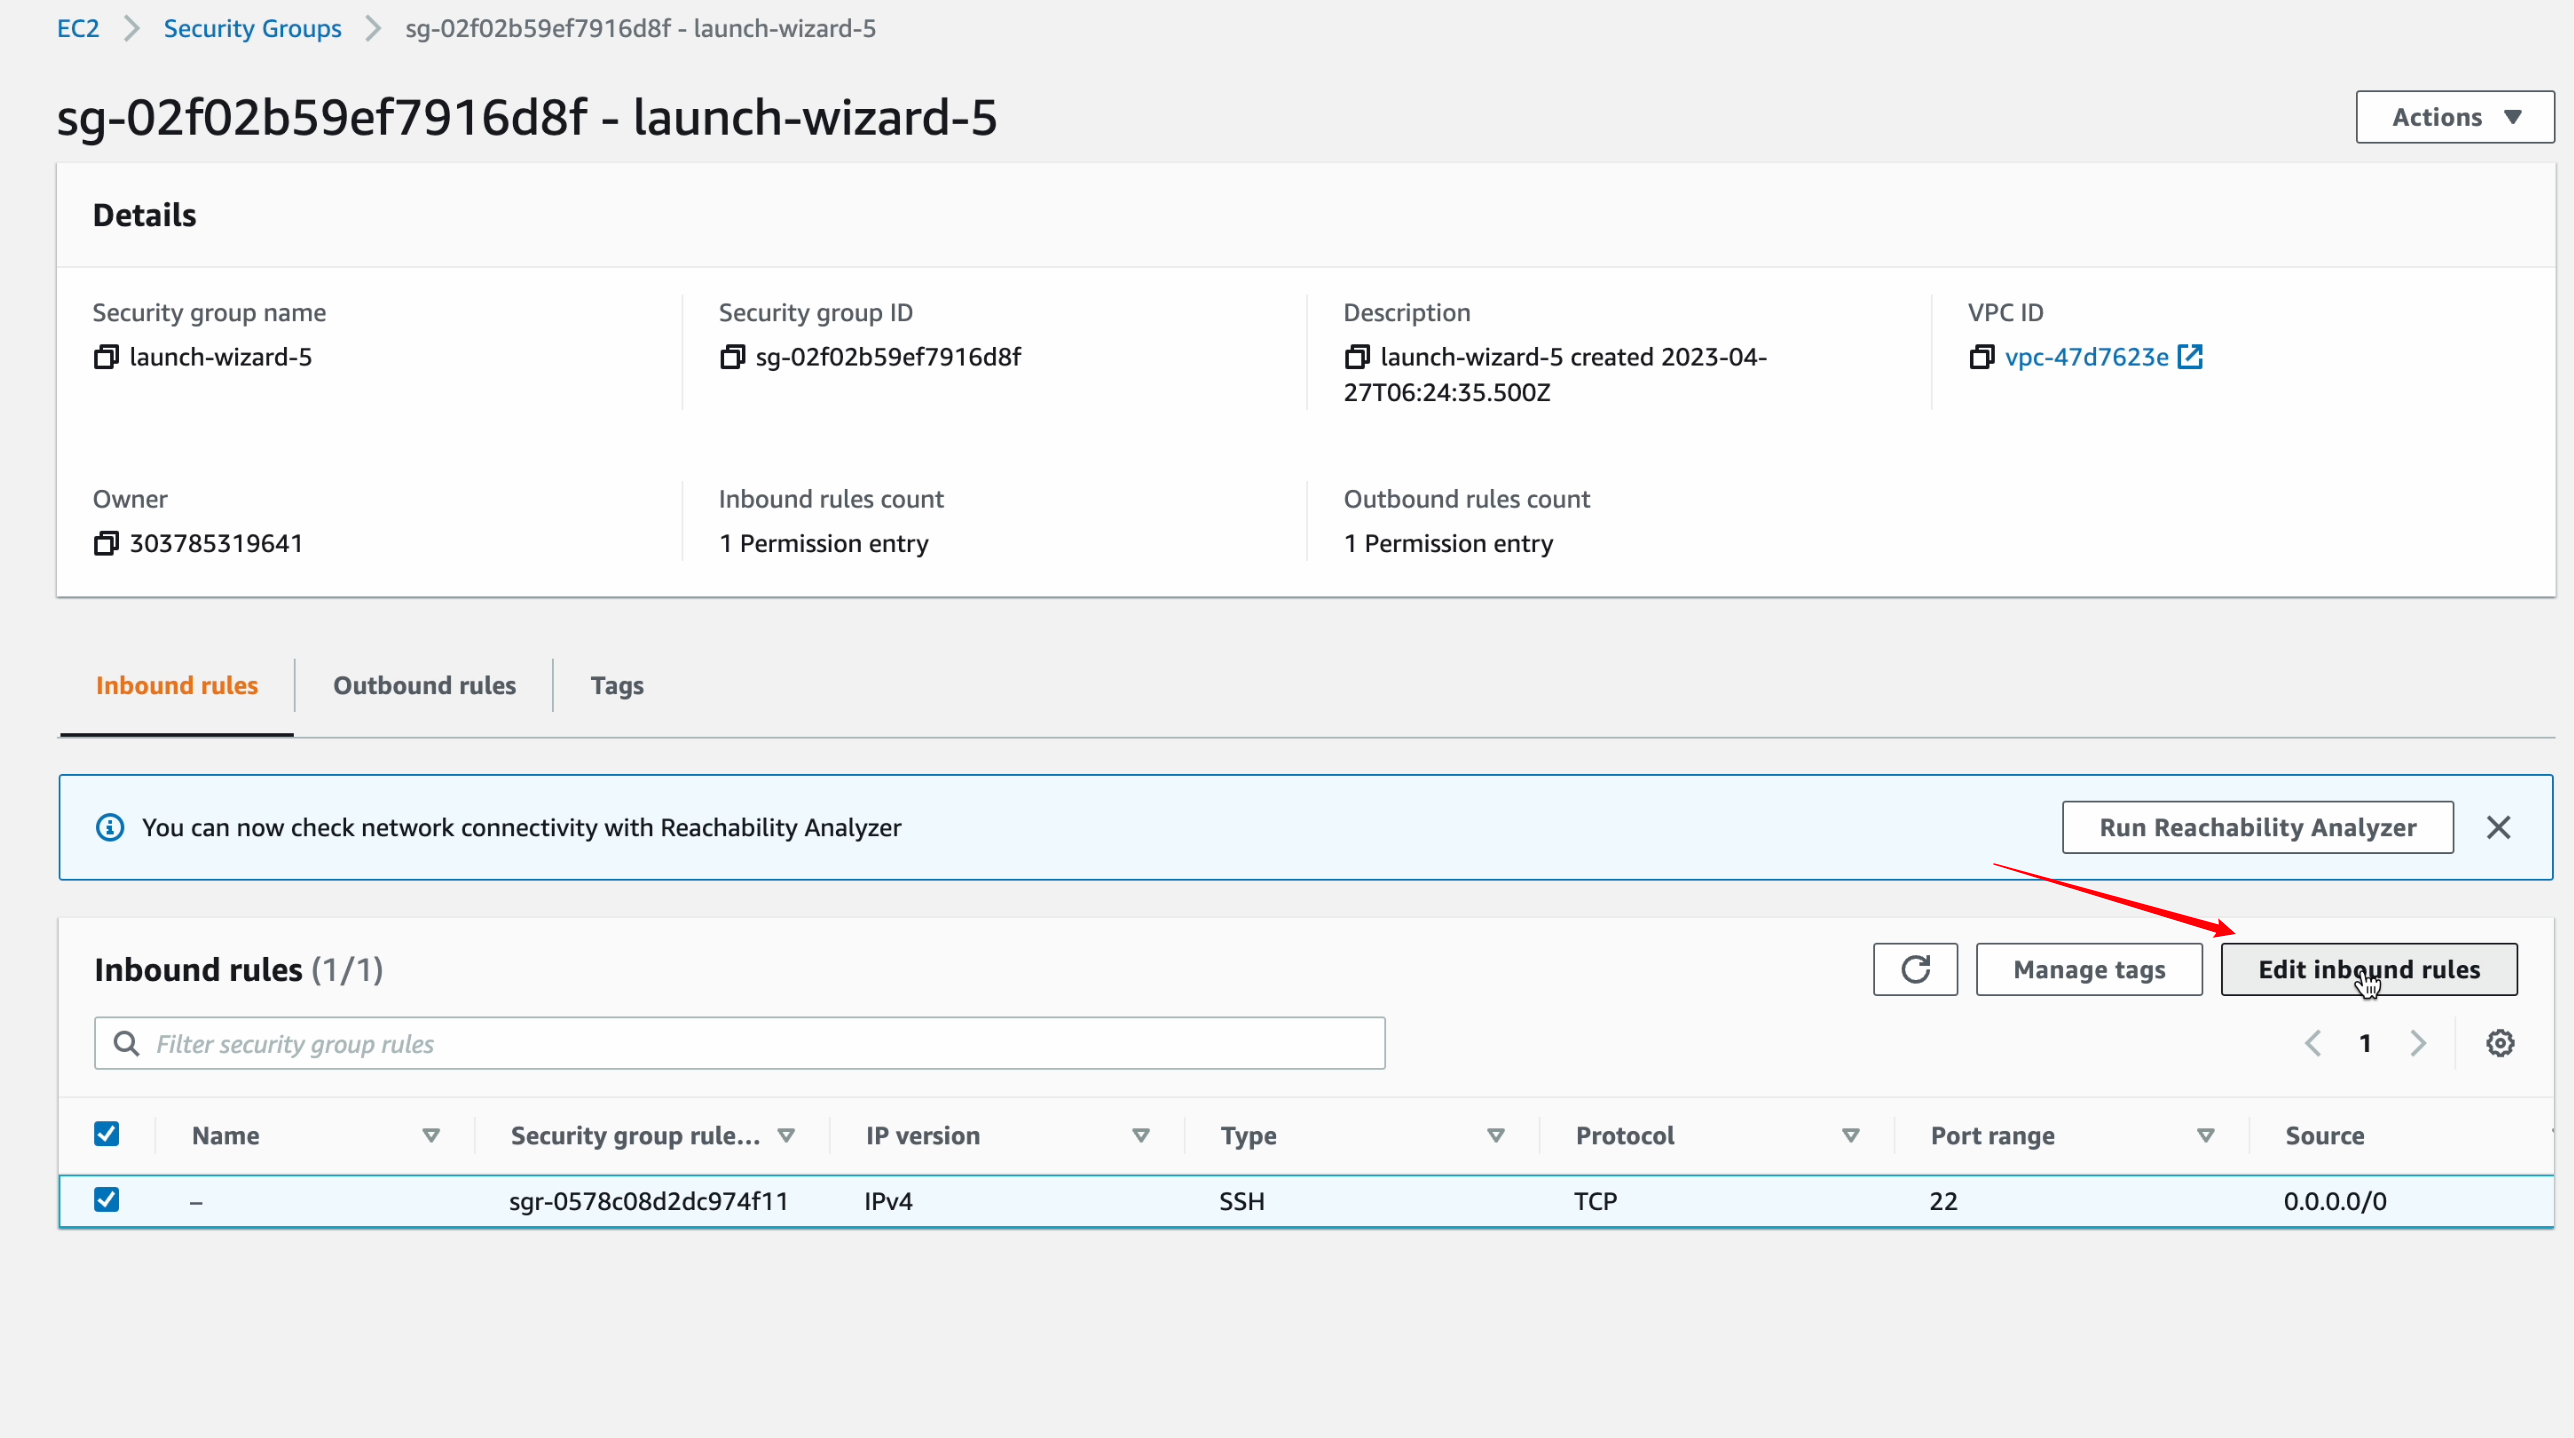
According to the prompt in the figure below, click “Security >>> Security groups”
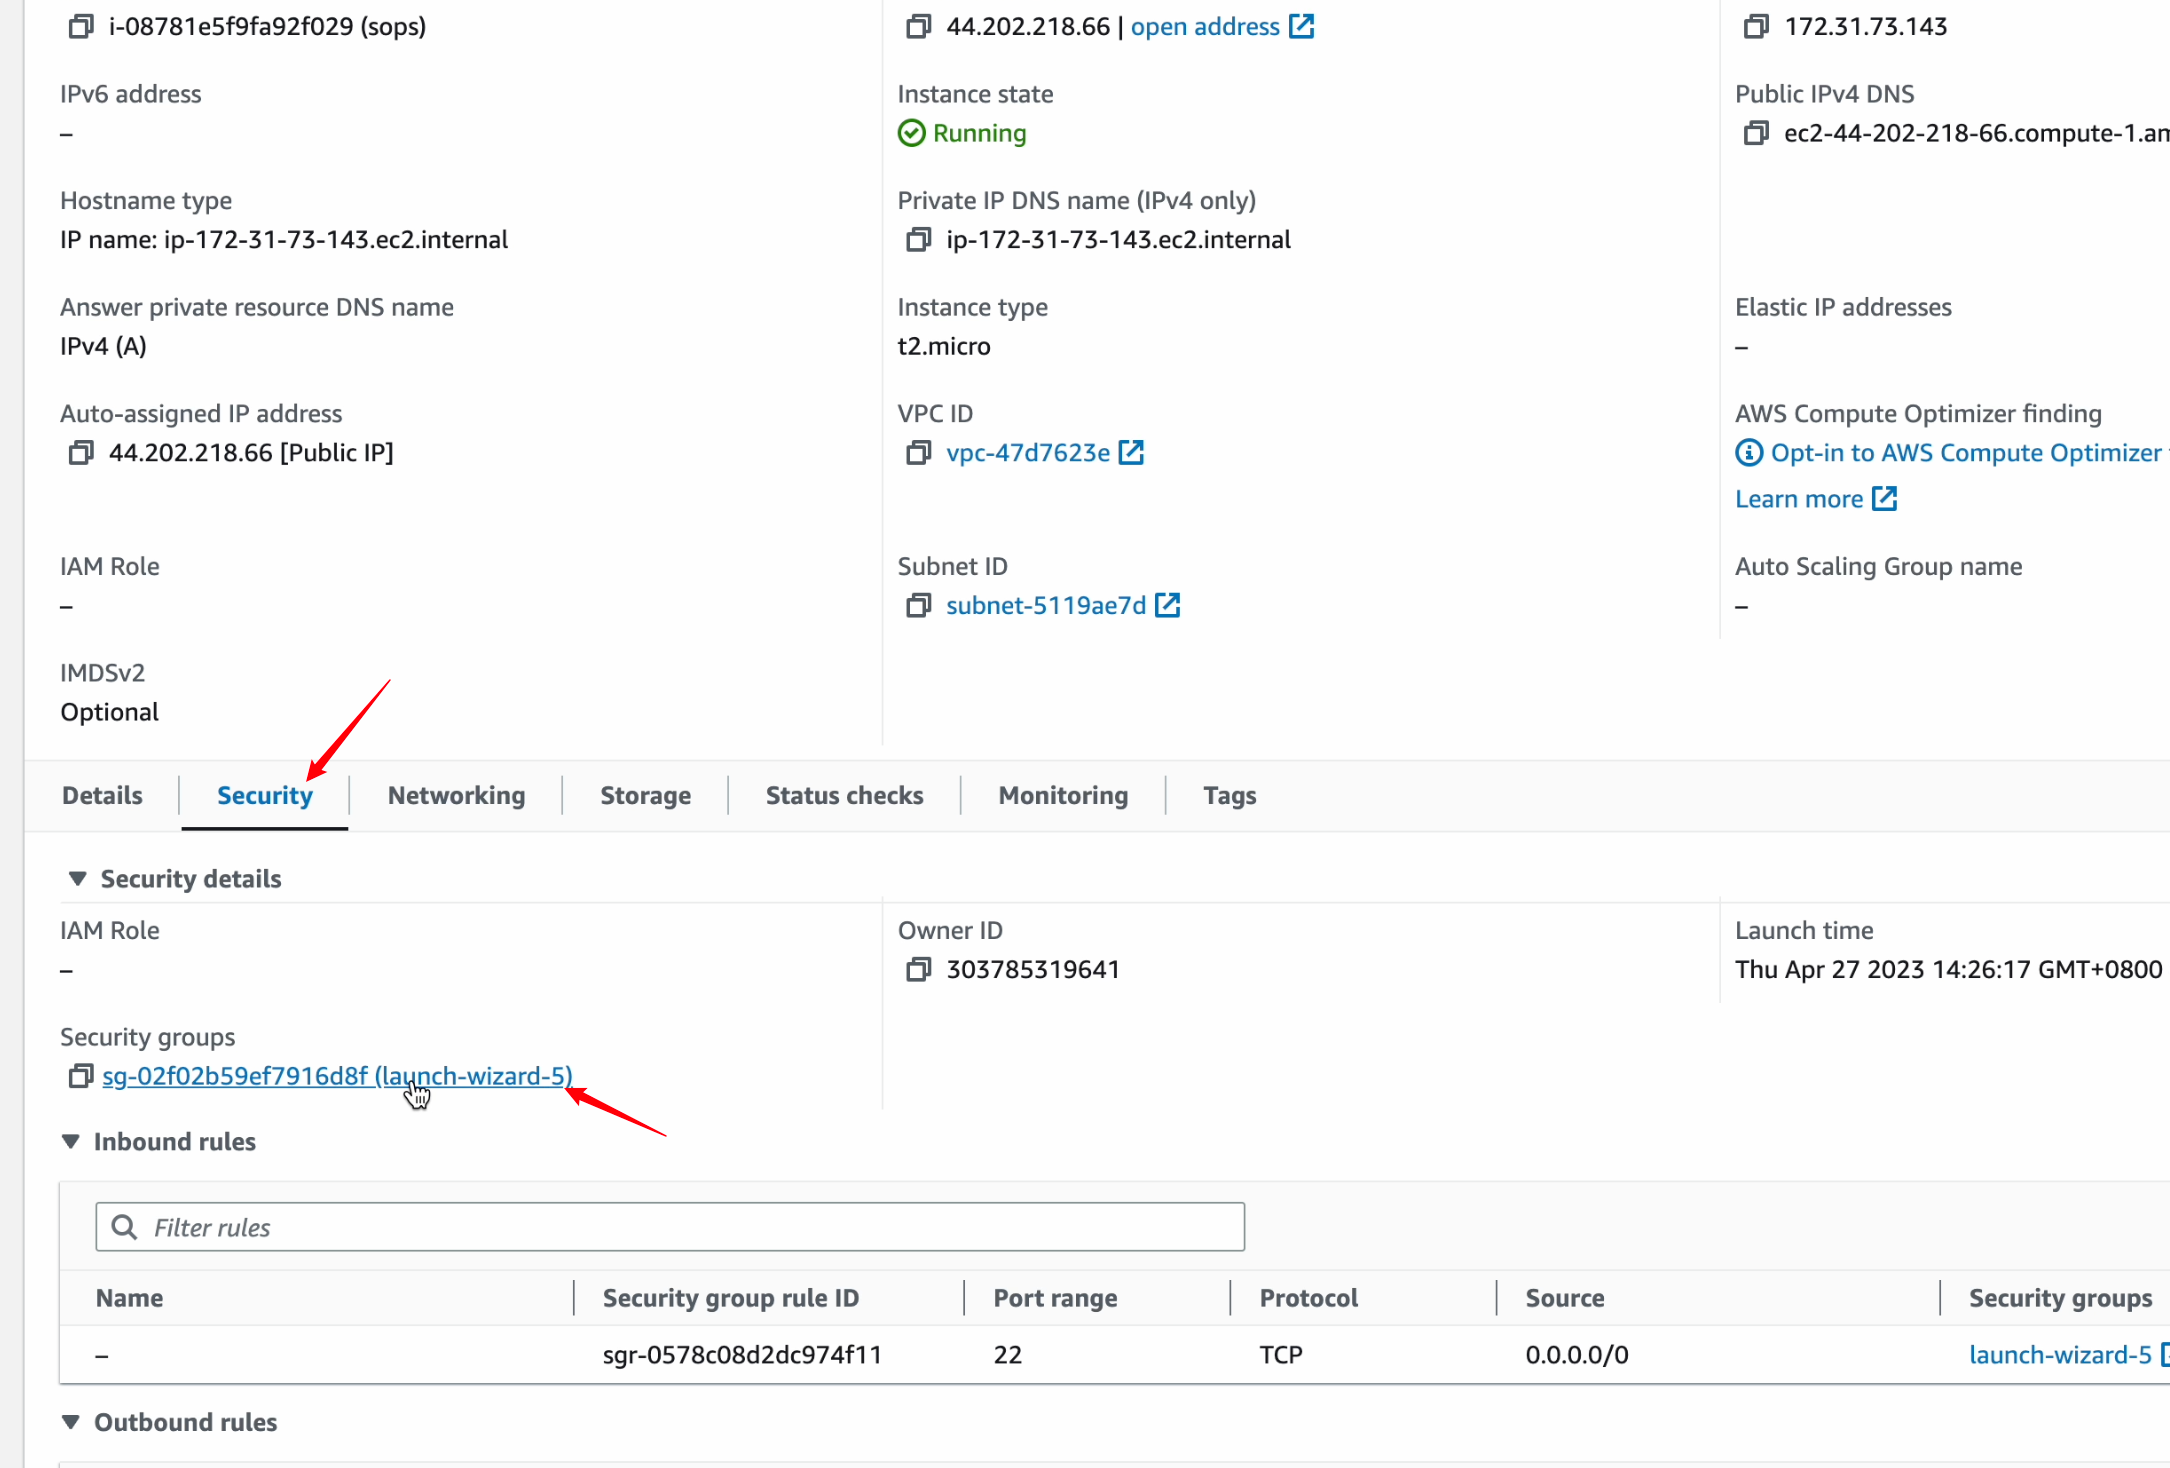
Click “Edit inbound rules” in Inbound rules to edit the inbound rules
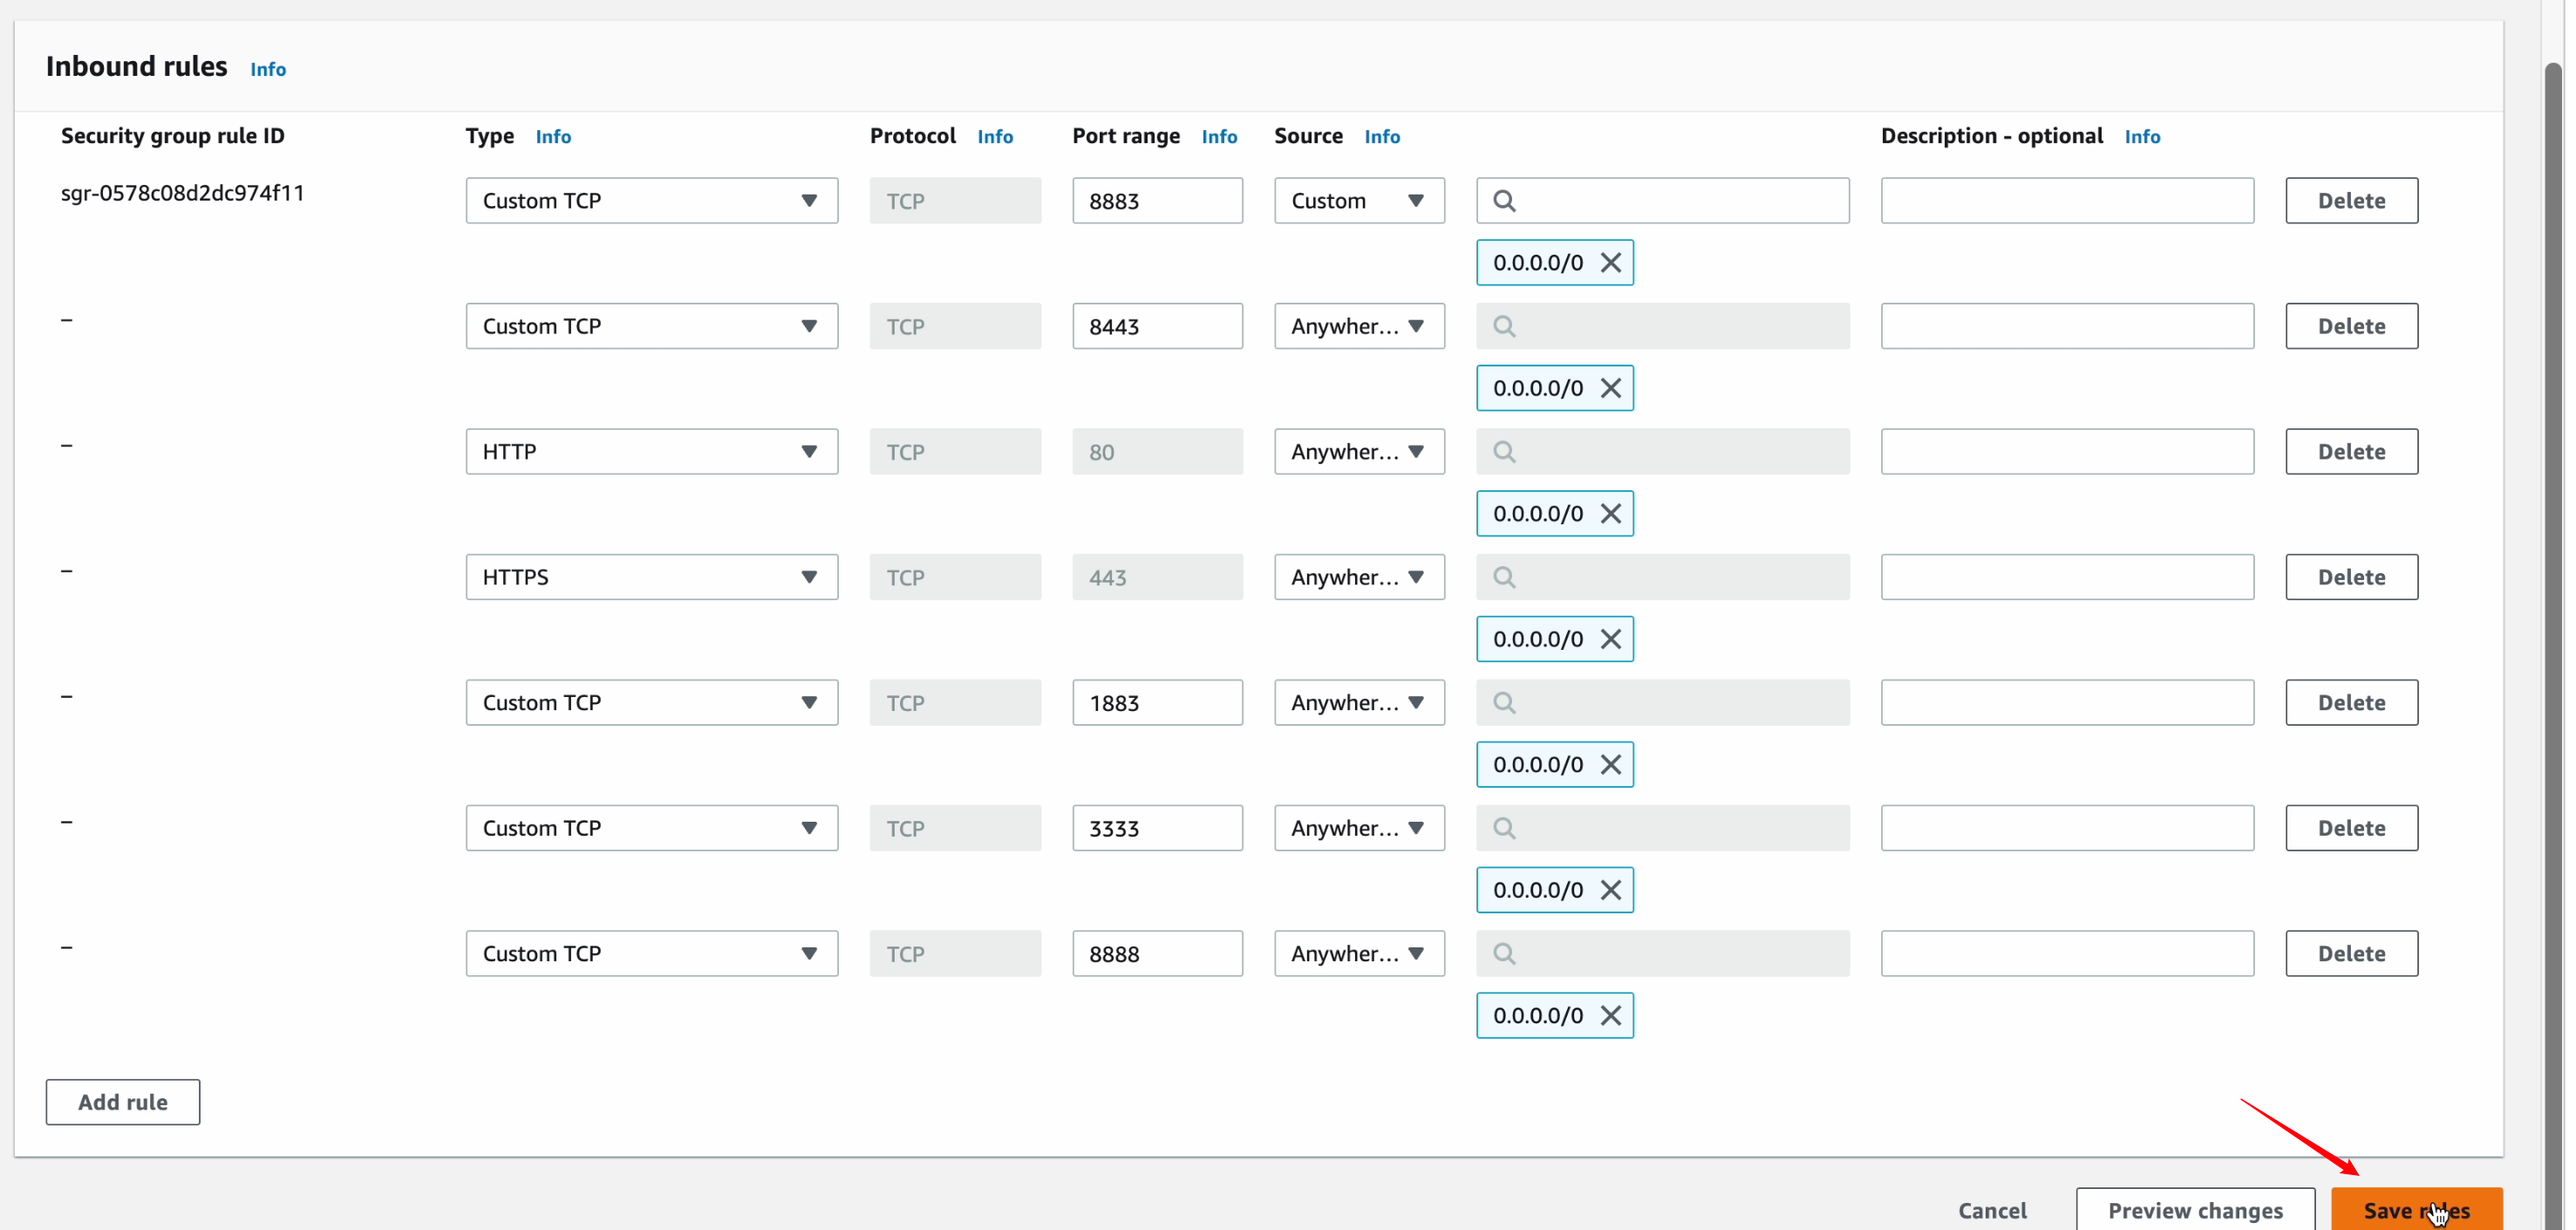
Configure your EC2 instance security group
Edit the inbound rules of your SOPS instance, please note: the initial inbound rules only allow access to port 22, you need to add the corresponding inbound rules as shown in the figure to ensure that SOPS works properly. For more SOPS firewall configuration instructions, please view Firewall Configuration for On-Premise Server (SOPS) .
Access your SOPS
After the configuration is complete, you can enter the SOPS Portal page through the IP in the instance details, and start the initial configuration of SOPS.